
How to set up the Vulpés X-Line Insoles
Learn how to download the app, connect your Vulpés device, adjust heat settings (1–100%), set timers, switch modes, and manage updates—directly from your smartphone.

Step 1: Install and set up the app
Download the Vulpés Smartwear App from the App Store or Google Play and create your account.

Step 2: Connect the cable to the transmitters and adapter
Take the cable that comes with your insoles and connect it to the transmitters. Then plug the other end into the adapter to prepare for charging.

Step 3: Charge the insoles
Place the inductive chargers directly over the flash symbol on each insole. A red light will indicate that the insole is currently charging. When the light turns green, the insole is fully charged and ready for use.

Step 4: Add Insoles in the App
Open the Vulpés Smartwear App. Tap the plus symbol or select “Scan nearby devices” to search for your insoles. Once your heated insoles appear, select them to complete the connection process.
Step 5: Update
After connecting the insoles in the app, you may be prompted to perform a firmware update. If so, follow the instructions provided to complete the update and ensure the best performance.

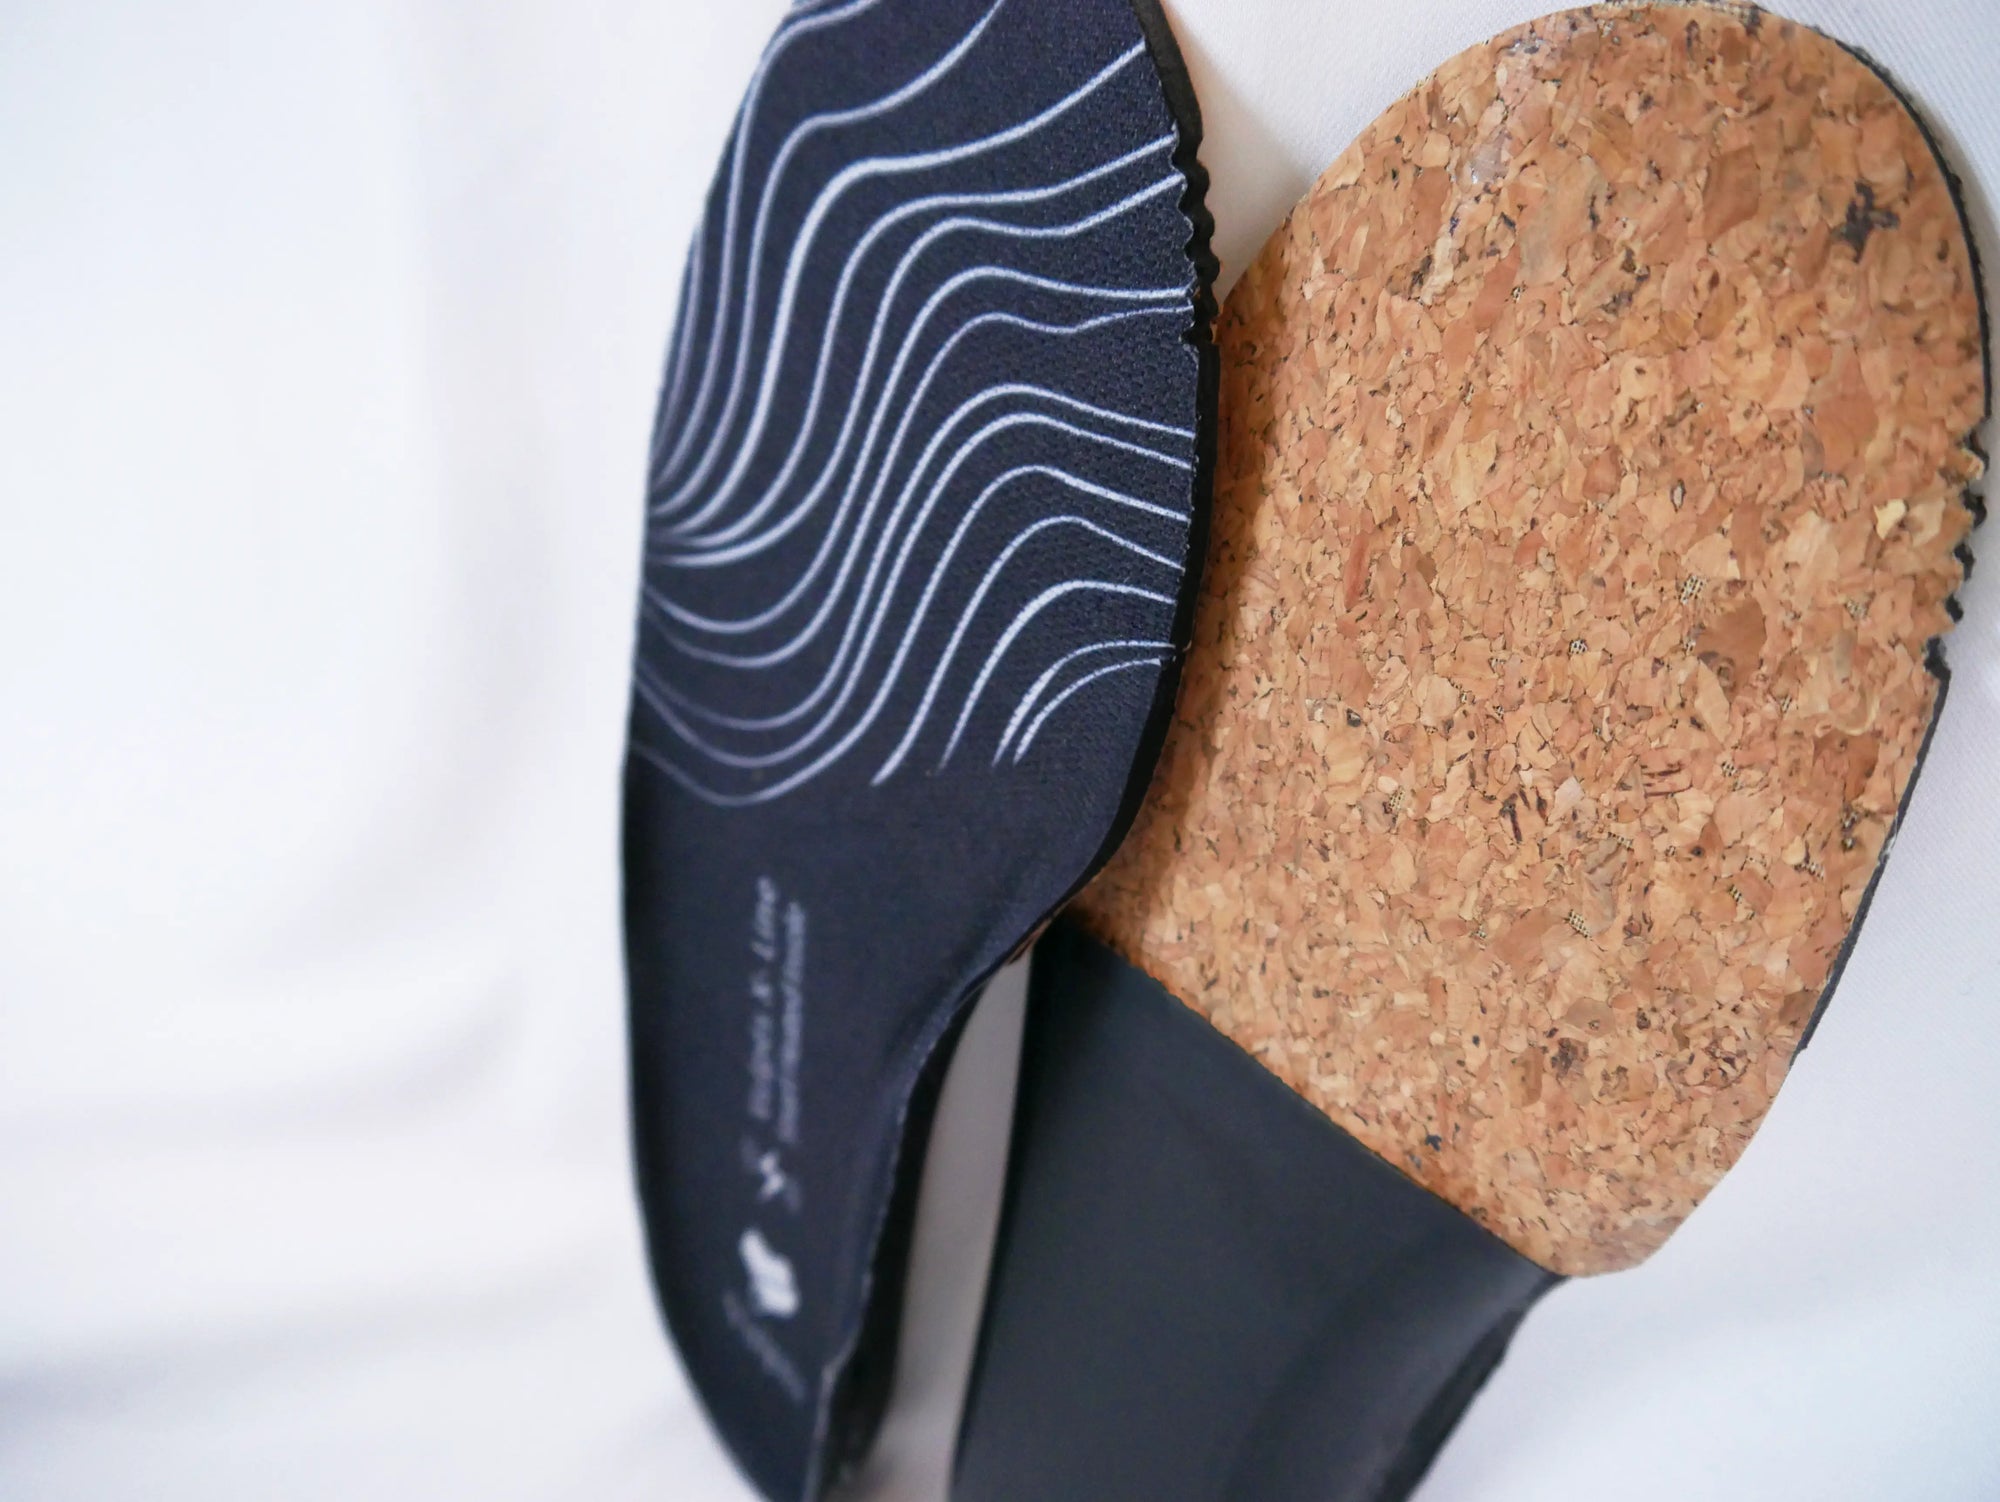
Step 6: Insert the Insoles into your shoes
Insert each insole into your shoes.
Frequently Asked Questions (FAQs)
Please make sure Bluetooth is enabled on your smartphone. Also check if the power bank is properly plugged in and turned on. If everything seems fine but it still won’t connect, try closing the app completely and reopening it.
The sock's Bluetooth module stays active at all times. If the power banks aren't removed after use, it will continue to drain due to the Bluetooth connection. To prevent this, always unplug the power bank when you're done using the device.